MultiLLm ChatGPT
Introduction
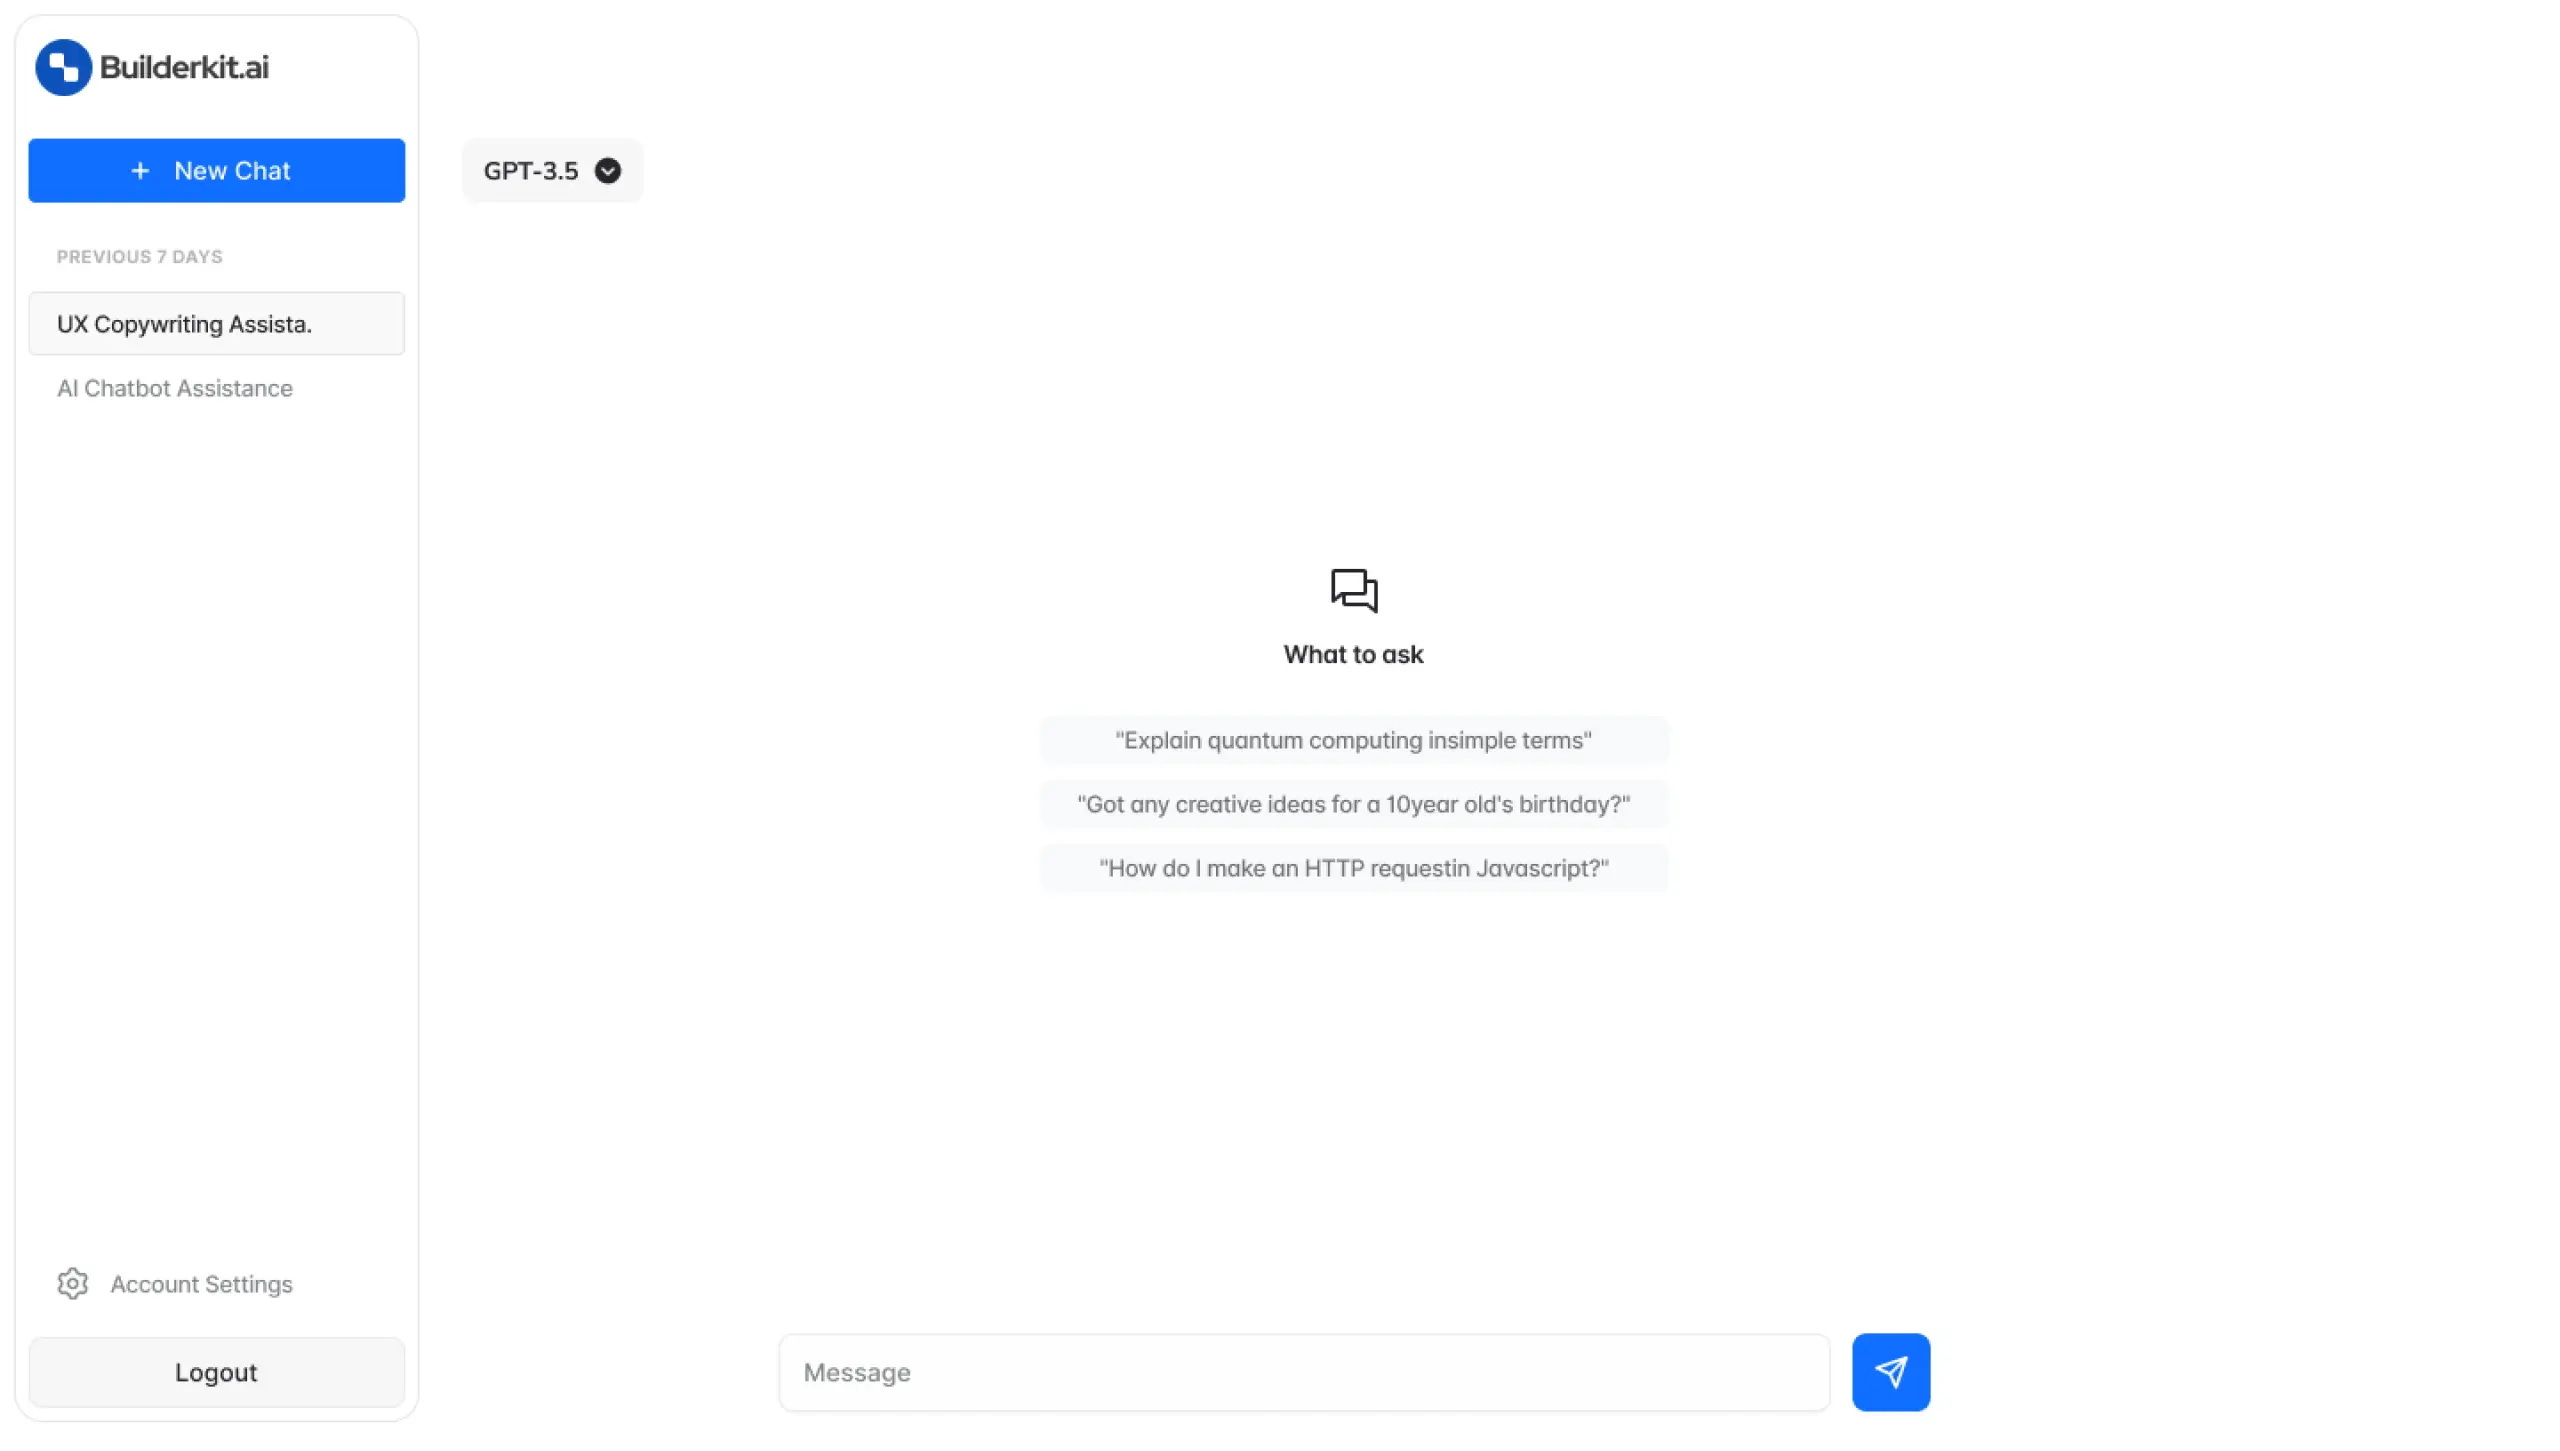
MultiLLm ChatGPt tool allows user to chat with different AI models. User can select any of the models among OpenAI, Claude, Mistral, or Llama 2 and talk to them.
Quickstart Guide
Installation
-
Clone the repository:
terminalgit clone https://github.com/builderkit-ai/BuilderKit-Starter.git [YOUR_APP_NAME] cd [YOUR_APP_NAME] git checkout multillm-chatgptRemove the
origin remoteto ensure that you can work locally without pushing the changes back to the original repository.terminalgit remote remove originHowever, note that after removing the remote, you won't be able to switch between the branches, so you'll need to clone the repository again if you want to work on another branch.
-
Install dependencies:
terminalnpm install -
Environment Variables:
Copy the required variables from
.env.exampleto.env.localas mentioned and update the values.terminalcp .env.example .env.localOr, manually create a
.env.localfile in the root directory with the following env variables (make sure to update the values with your actual keys):.env.local# Host NEXT_PUBLIC_APP_URL=<your-app-url> # Supabase NEXT_PUBLIC_SUPABASE_URL=<your-supabase-url> NEXT_PUBLIC_SUPABASE_ANON_KEY=<your-supabase-anon-key> SUPABASE_SERVICE_ROLE_KEY=<your-supabase-service-role-key> # OpenAI OPENAI_API_KEY=<your-openai-api-key> # Claude ANTHROPIC_API_KEY=<your-anthropic-api-key> # Replicate REPLICATE_API_TOKEN=<your-replicate-api-key> # Lemon Squeezy LEMON_SQUEZY_BASE_URL=<your-lemonsqueezy-base-url> LEMON_SQUEEZY_API_KEY=<your-lemonsqueezy-api-key> LEMON_SQUEEZY_WEBHOOK_SECRET=<your-lemonsqueezy-webhook-scret> # Stripe STRIPE_SECRET_KEY=<your-stripe-secret-key> STRIPE_WEBHOOK_SECRET=<your-stripe-webhook-secret> # Google Analytics NEXT_PUBLIC_GOOGLE_ANALYTICS_KEY=<your-google-analytics-key>
Setup Supabase
If you have not setup the supabase yet, go through the detailed documentation to set up the supabase for BuilderKit.ai. Make sure that you are creating the user table as mentioned in the supabase setup doc as it is required for the tool.
Create MultiLLM ChatGPT Table in Supabase:
-- Create a table for MultiLLm ChatGPT
create table multillm_chatgpt (
   id uuid not null default uuid_generate_v4(),
   created_at timestamp with time zone not null default now(),
   user_id uuid null,
   model text null,
   title text null,
   chat_history jsonb null,
   constraint multillm_chatgpt_pkey primary key (id),
   constraint multillm_chatgpt_user_id_fkey foreign key (user_id) references users (id)
);

-- Set up Row Level Security (RLS)
alter table multillm_chatgpt
enable row level security;

create policy "Users can insert their own row." on multillm_chatgpt
for insert with check (auth.uid() = user_id);

create policy "Users can update own row" on multillm_chatgpt
for update using (auth.uid() = user_id);

create policy "Users can read own row" on multillm_chatgpt
for select using (auth.uid() = user_id);

-- Optional: Add policy to allow users to delete their own row
create policy "Users can delete own row" on multillm_chatgpt
for delete using (auth.uid() = user_id);
For all the tables, we enable the RLS policy by default with necessary permissions as mentioned in the script.
Sync Supabase Types: It is mandatory to sync your updated supabase table with your application, otherwise you will get typescript error while deploying the application. To sync the supabase table schema with your project follow the steps here (opens in a new tab).
Configure Payments & Webhook
BuilderKit supports both Lemon Squeezy & Stripe as the payment method. You can either use both (current state) or use any specific payment method as per your requirements.
- Set the required environment variables in your
.envfile:
Replace the placeholder values with your actual Lemon Squeezy credentials:
LEMON_SQUEZY_BASE_URL=your_lemon_squeezy_base_url
LEMON_SQUEEZY_API_KEY=your_lemon_squeezy_api_key
LEMON_SQUEEZY_WEBHOOK_SECRET=your_lemon_squeezy_webhook_secret- Update the
src/config.tsfile with your Lemon Squeezy configuration details:
const config = {
  // ...
  lemonSqueezy: {
    baseUrl: "https://builderkit.lemonsqueezy.com/buy",
    emailParam: "checkout[email]",
    discountParam: "checkout[discount_code]",
    variant: {
      standard: {
        monthly: "81395ea4-4049-49a7-a11e-3ccdf620ce7e",
        annually: "feb7cf4b-d0e0-4f04-a4e9-55d4415824ff",
      },
      premium: {
        monthly: "eb0503cb-a58a-4a30-8fdf-86fa977bd3cb",
        annually: "cde373b7-1619-4788-9e6b-664ba048f693",
      },
    },
    plan: {
      245697: "standard",
      245701: "premium",
    },
  },
  // ...
};baseUrl: The base URL for Lemon Squeezy checkout sessions.emailParam: The parameter used to prefill the email input in the checkout form.discountParam: The parameter used to prefill a discount code in the checkout form (optional).variant: Mapping of product tiers and frequencies to Lemon Squeezy variant IDs.plan: Mapping of Lemon Squeezy product IDs to subscription types.
Adjust the variant and plan mappings based on your Lemon Squeezy product setup.
BuilderKit includes a webhook handler for processing Lemon Squeezy subscription events. The webhook route is defined in src/app/api/webhooks/lemon-squeezy/route.ts.
Make sure to configure the webhook endpoint in your Lemon Squeezy dashboard to point to the appropriate URL - https://your-domain.com/api/webhooks/lemon-squeezy (opens in a new tab). Replace your-domain with your project's domain.
Running the Application
-
Run the development server:
terminalnpm run devThis will start the development server on http://localhost:3000 (opens in a new tab).
-
Build for production:
terminalnpm run buildThis command compiles the application for production usage.
-
Start the production server:
terminalnpm startThis will start the application in production mode.
Additional Scripts
-
Prepare Husky for Git hooks:
This script sets up Husky, which enables Git hooks in the project. Git hooks allow you to run scripts automatically before certain Git events (like committing code), which helps maintain code quality by enforcing checks before code is committed.
terminalnpm run prepare -
Validate the code with Linting, Formatting & Typecheck:
This script runs linting, formatting checks, and type checking in a single command. It's a convenient way to ensure your code meets the project's quality standards before pushing changes or deploying.
terminalnpm run validate
Make the tool publicly accessible by removing the login process
-
Go to
src/app/(dashboard)/layout.tsxand comment the following sectionfrom line:15 to line:20as shown in the image below: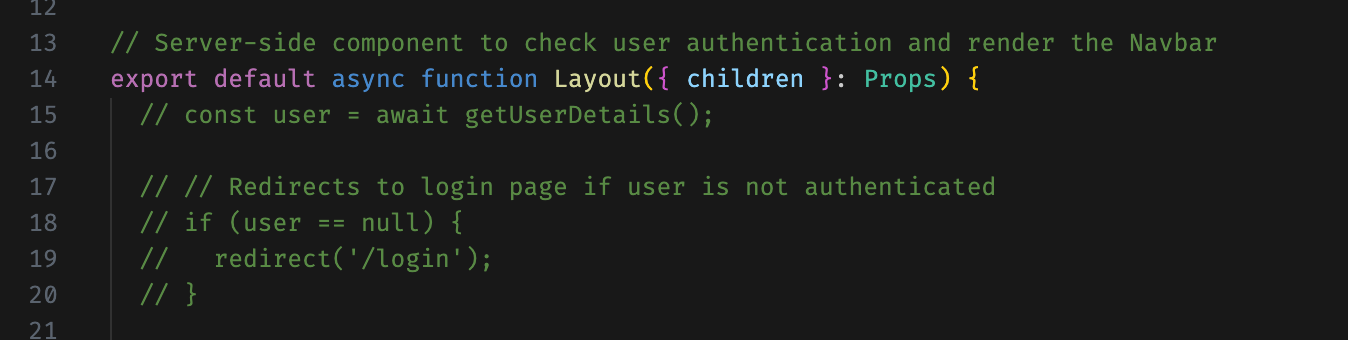
-
Now, go to
src/app/api/chat/route.tsxand comment the following sectionfrom line:18 to line:23as shown in the image below: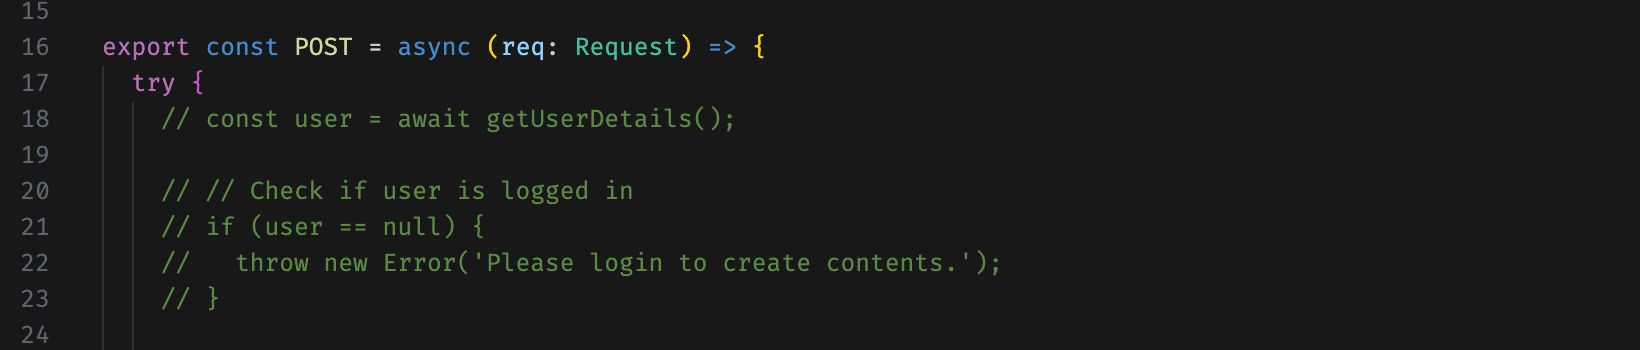
These sections reads the user data and checks if the user is signed in or not. By commenting this section it does not check the user validation.
Deployment
To deploy the application to a live environment, follow this comprehensive deployment guide.
Requirements
- Node.js: Download and install from here (opens in a new tab).
- Supabase: Check out Supabase Setup Documentation to get all the required details.
- OpenAI API Key: Sign up for an API key on OpenAI (opens in a new tab).
- Anthropic API Key: Sign up for an API key on Anthropic (opens in a new tab) and get free credits to start up.
- Replicate API Key: Create an account on Replicate (opens in a new tab) to get the api token.